


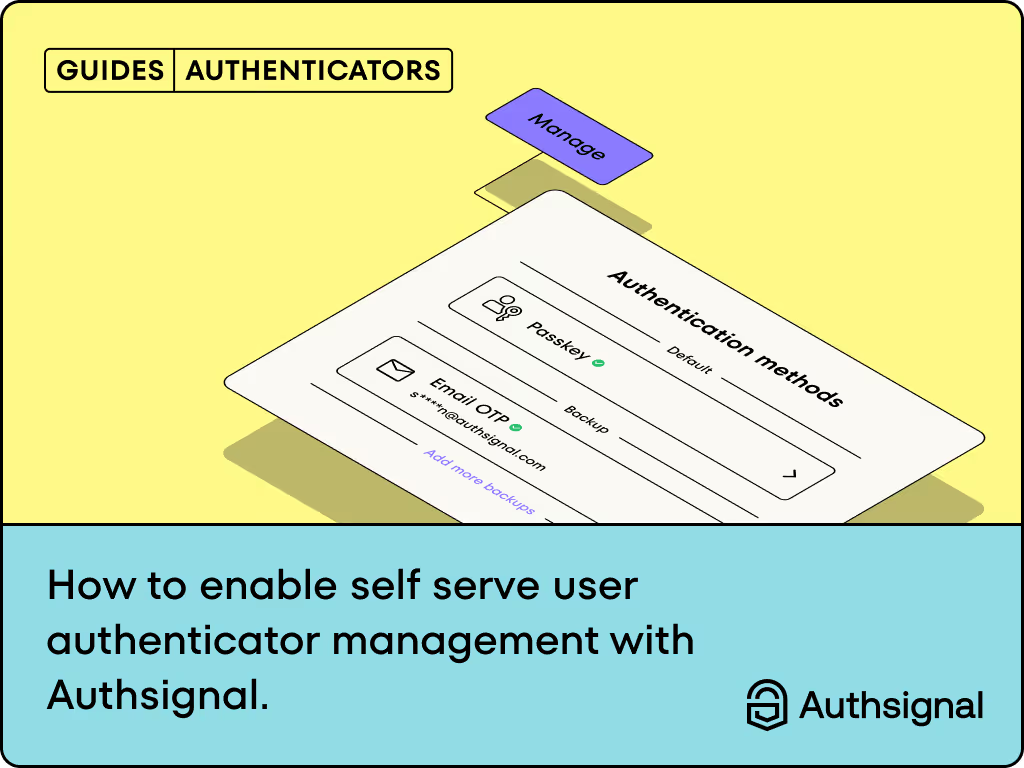
In the previous blog (How to Implement Passkeys for a Seamless E-Commerce Checkout Experience), we discussed implementing a secure and seamless checkout process using Authsignal’s email OTP and passkeys for passwordless authentication. Now, we’ll take it a step further and show you how to add a button that allows users to manage their authenticators directly from your e-commerce platform.
By integrating this feature, users can add, remove, or update their authenticators (such as email OTP, passkeys, etc.) through Authsignal’s pre-built UI. This ensures that users have complete control over their authentication methods, enhancing both security and convenience.
.gif)
Step-by-Step Guide to Managing Authenticators
In this guide, we’ll focus on adding a “Manage Authenticators” button that, when clicked, will open Authsignal’s pre-built user interface for users to adjust their authentication methods. The backend will handle generating the necessary URL and tracking the action for Authsignal.
This guide uses Authsignal's Web and Node SDKs. Authsignal provides SDKs for a number of languages, so you can adapt this guide to suit your needs:
Backend Setup: Manage Authenticators Endpoint
The first thing we need to do is create a new backend endpoint that will be responsible for generating the URL for managing authenticators. When the user clicks the “Manage” button, this endpoint will be called to trigger Authsignal’s pre-built UI.
Here’s how we can implement the /manage endpoint in the backend:
// POST /manage

import { Request, Response } from "express";
import { unsealData } from "iron-session"; // assuming iron-session is used

app.post("/manage", async (req: Request, res: Response) => {
  const token = req.cookies.authtoken;

  // validate the session token and retrieve userId

  const userId = session?.userId;

  if (!userId) {
    return res.status(401).json({ error: "Unauthorized" });
  }

  // Track a 'manage' action with Authsignal and get the URL for the pre-built UI
  const response = await authsignal.track({
    userId,
    redirectUrl: `${baseUrl}/account`, // Redirect back to account page after management
    action: "manage",
    redirectToSettings: true, // Open the authenticator settings directly
    deviceId: req.body.deviceId,
    userAgent: req.headers["user-agent"],
    ipAddress: requestIp.getClientIp(req) ?? undefined,
  });

  // Return the URL for the frontend to launch the UI
  res.status(201).json(response.url);
});
Explanation:
- Session Management: We retrieve the userId from the session token (stored in cookies). This session token is not related to Authsignal and is handled with a library of your choice.
- Authsignal's track Method: We use the authsignal.track method to track a "manage" action and obtain the URL for managing authenticators. It's important to include redirectToSettings: true in the track call so that the user is taken to the settings menu. Learn more about tracking an action.
- Redirect to Account Page: After managing authenticators, users will be redirected to the account page, but you could redirect to any page of your choice.
Frontend Setup: Adding the Manage Button
Now, let’s create the account settings page on the frontend where users can manage their authenticators. We’ll add a button that calls the /manage endpoint, retrieves the URL, and redirects to Authsignal’s pre-built UI.
Here’s an example of how this might look:
import { authsignal } from "./authsignal";
import { baseUrl } from "./utils";

export function Account() {
  const handleManage = async () => {
    try {
      // Call the /manage endpoint to get the URL
      const response = await fetch(`${baseUrl}/manage`, {
        method: "POST",
        headers: {
          "Content-Type": "application/json",
        },
        credentials: "include", // Ensure cookies are included
      });

      const url = await response.json();

      // Launch Authsignal's pre-built UI to manage authenticators
      await authsignal.launch(url);
    } catch (error) {
      console.error("Failed to launch authenticator management UI:", error);
    }
  };

  return (
    <div className="w-full mx-auto p-8 bg-white rounded-lg shadow-md">
      <h1 className="text-2xl font-bold mb-6">Settings</h1>

      <div className="mb-4">
        <div className="flex justify-between mt-4">
          <h2 className="text-lg">Authentication options:</h2>
          <div className="mb-6">
            <button
              onClick={handleManage}
              className="py-2 px-4 bg-simplifyBlue text-white font-semibold rounded-md hover:bg-blue-600"
            >
              Manage Authenticators
            </button>
          </div>
        </div>
      </div>
    </div>
  );
}
Key Features:
- Button Trigger: When the “Manage” button is clicked, the /manage endpoint is called to get the Authsignal URL.
- Authsignal UI: Once the URL is retrieved, authsignal.launch(url) is called to display the pre-built UI where users can manage their authenticators. In this case we are using the pre-built UI in redirect mode. Learn more about redirect mode vs popup mode here.
If you want to launch the pre-built UI on your own domain, consider learning more about setting up a custom domain.
Conclusion
By adding a “Manage Authenticators” button to your e-commerce platform, you empower users to control their authentication methods directly through Authsignal’s pre-built interface. This simplifies the process for both users and developers, ensuring a secure, seamless, and customizable experience.
To summarize, this follow-up guide has covered:
- Setting up a backend
/manageendpoint to handle the management of authenticators. - Creating a frontend account page with a button to launch Authsignal’s UI for managing authenticators.
By incorporating this functionality into your platform, you further enhance the user experience, giving customers control over their authentication settings while maintaining security and simplicity.
.svg)


